
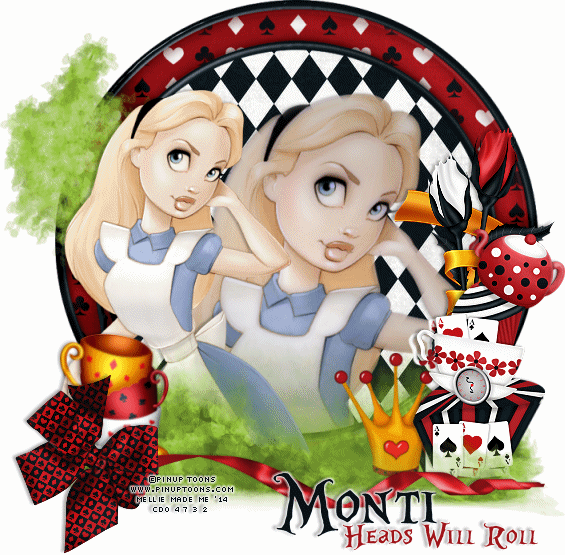
You can click the tag image to enlarge it :)
Thank you for taking the time to do my tutorial. I hope you enjoy it, and would love to see your results, and receive your feedback! This tutorial was written by Mellie on August 15, 2014 and is copyright to me, the way I word thing's and the images that I use. All other images are copyright to their respective owners, including tubes/art, font, scrapkits and templates and should not be used without purchasing or written permission, nor without reading their terms of use. This tutorial is for education purposes only and is in no way intended to be used as any other purpose. This tutorial was written with the tube and kit in mind that is being shown, therefore, you may have to adjust your setting's should you choose to use images not suggested here, in this tutorial. For this tutorial, you will need to know several things. Paint Shop Pro (I am using version X), and a good working knowledge of how to operate it, layer palettes and plug-in filters, masks, templates...etc. I will also assume that you add your desired drop shadows to each and every layer. :)
You will need the following in order to duplicate my tag:
PinUp Toons tube - HERE
Scrap Kit by Monti - HERE
PSP X or similar version
Animation Shop
Font of choice I am using Alice In Wonderland. :)
Xero - Porcelain and Soft Vignette
Let's begin, shall we? :)
Open frame 1 provided in Monti's kit, duplicate ( shift + D) and close the original. Resize the frame to about 80%, all layers unchecked.
Open paper 2, and set it as your background fill. Close your foreground fill and using your preset tool, ellipse, draw out a circle (hold down shift for a perfectly round circle) about 472 pixels. Convert to raster layer and place as bottom layer, in layer palette. Duplicate this layer so that you have a total of 4 layers. Close the paper, we're done with it.
Click the second layer of paper you created and go to Image>Free rotate. Click on right, then click free and type in 30, uncheck the 2 boxes at the bottom and click on OK.
Repeat this same step for the next two layers, only change the rotation to 60 and 90. Leave the original paper as is.
Now, let's start decorating our tag :)Add the largest tube layer, over your paper layer, and resize accordingly. Apply Xero Vignette and Xero Porcelain with these settings:


I will leave this part to you and your taste mostly. I am using some of the same elements that are on the frame. I have moved, placed and resized them and made it look as if she's behind them, to help cover the part that is cut off. Just use your pick tool to drag and resize those 3 elements.
Now, let's add some more elements:
Element 36 across the top layer Element 31 top layer, left
Element 30 layer above the frame.
Now, let's work on adding our copyright information and name or text. I am using a font called Alice In Wonderland at 72 pt. in black. I am also adding a stroke of white to mine :)
Add your copyright information.
Once you have everything in place, and the way that you like it, we need to start on the animated portion of the tag.
Click the first paper layer you created on the tag. Hide the other 3 copies of it, and merge visible. Copy/paste as a new image in PSP, merge all, flatten, then copy/paste into animation shop.
Go back to psp, undo merge, hide current layer and click on the next layer, merge visible and copy/paste as new image. Flatten. Copy/paste into animation shop, but click on edit> paste after current frame.
Go back to psp, undo merge, hide current layer and click on the next layer, merge visible and copy/paste as new image. Flatten. Copy/paste into animation shop, but click on edit> paste after current frame.
Do this until you've used all 4 layers.
Now, in animation shop highlight the 2 middle frames by using your arrow keys on your keyboard and pressing shift. Copy. Then highlight the last frame and go to edit>paste after current. You should have a total of 6 frames now.
Save your image and you are done!
Thank you for taking the time to do my tutorial. I hope to offer more in the future, so keep checking back!
No comments:
Post a Comment